There are two steps required in order to troubleshoot and get your product feed working again. This seems to be a Facebook related issue that has been happening to a variety of eCommerce shops around the world.
-
Verify your domain
-
Delete and recreate the Product Catalog on Facebook Commerce (Business Manager).
Follow the steps below to complete these two steps.
VERIFY YOUR DOMAIN
1. Login to Facebook Business Manager
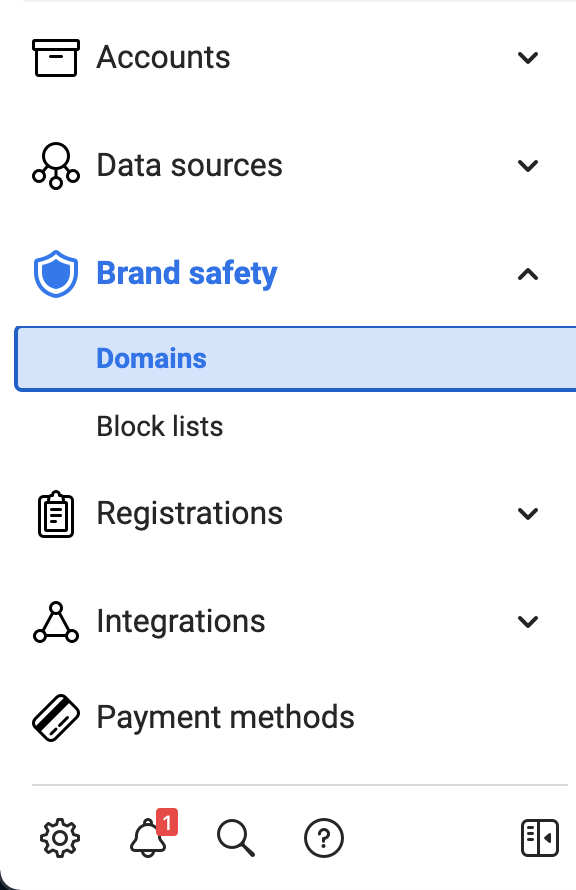
2. In the menu on the left, look for the "Brand Safety" section, and click on the "Domains" menu option as shown in the screenshot below.
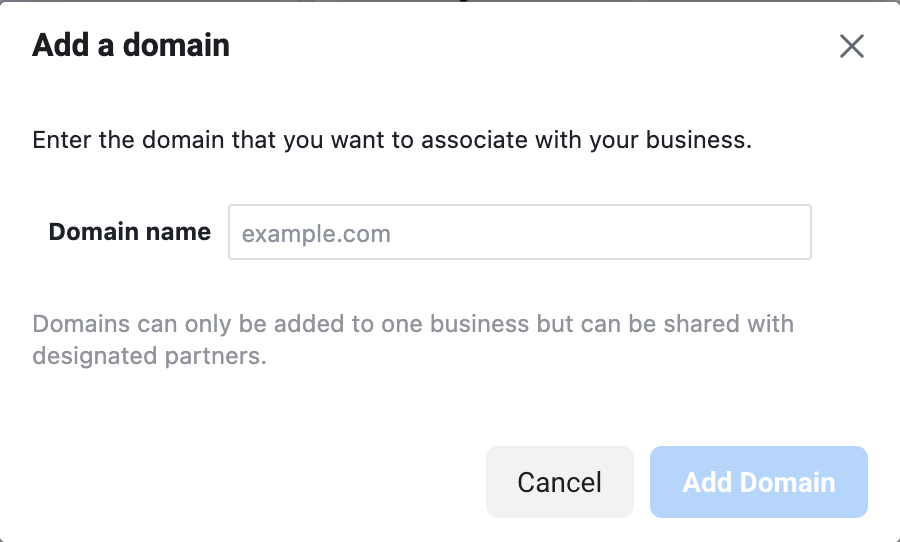
3. Add your domain name here, for example: "mydomain.co.za".
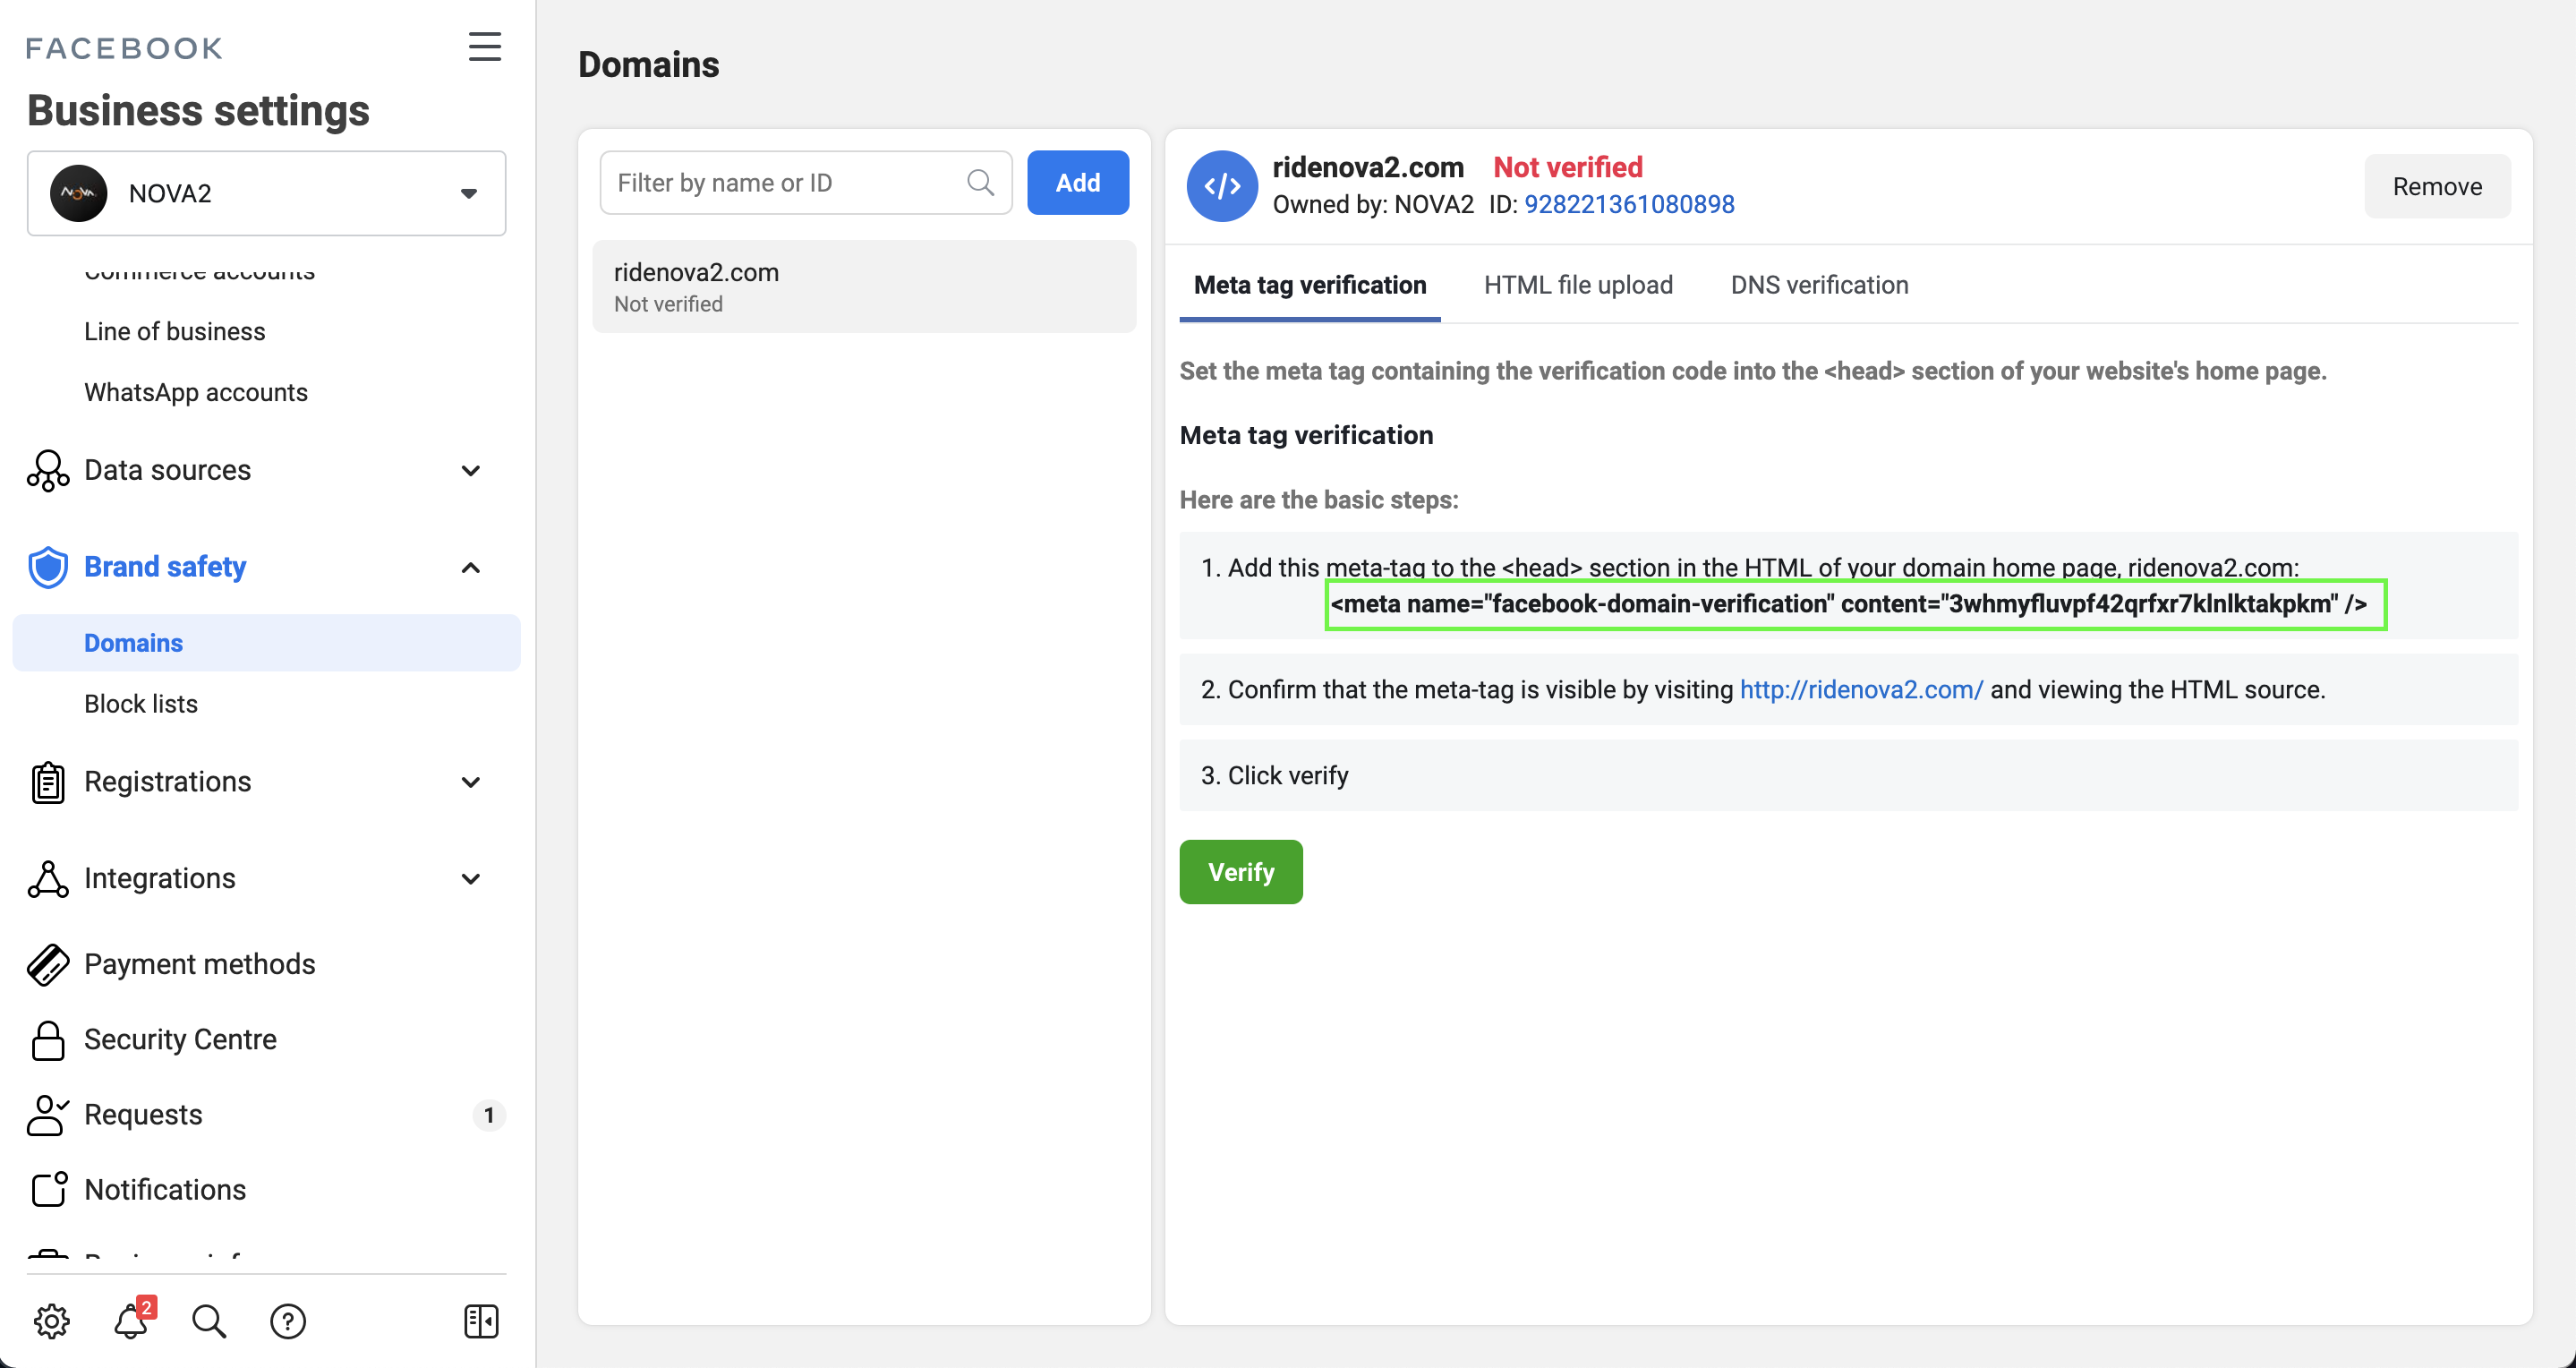
4. Once you have added your domain, it will ask you to verify it by adding a piece of code to your website. Highlight and Copy only the bolded text as seen in the green box below. Do not close this screen.
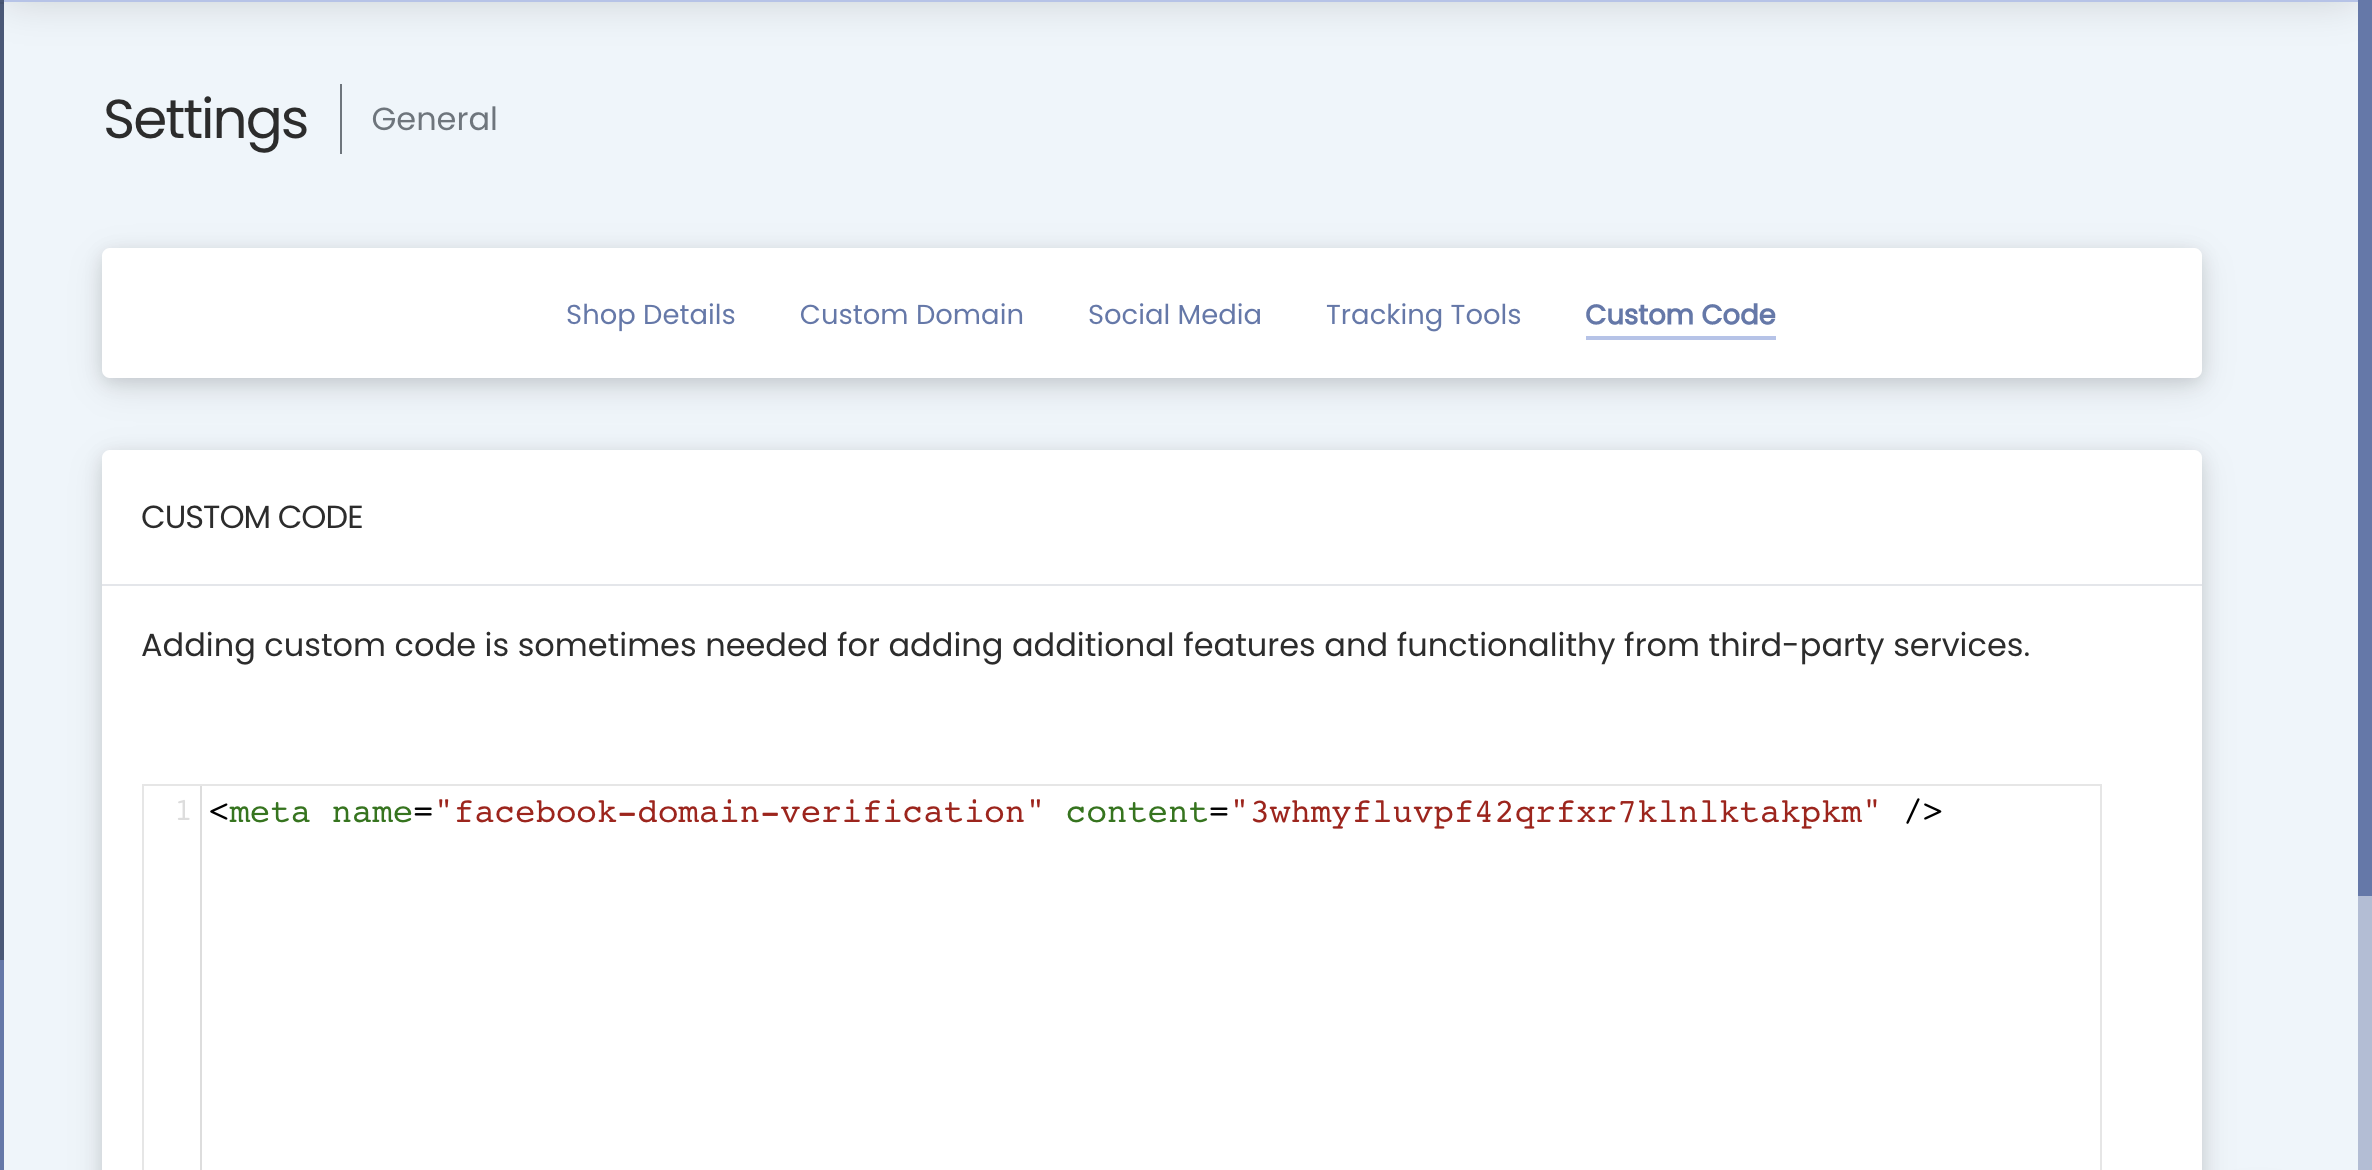
5. Next, in a new tab or window, head over to your Shopstar admin dashboard and click on "Settings" -> "General". Navigate to the "Custom Code" tab (the last tab on the right).
Paste the text you copied in the previous step on the first line in the custom code box.
6. Return to Facebook Business Manager, and click on the green "Verify" button.
RECREATE PRODUCT CATALOG
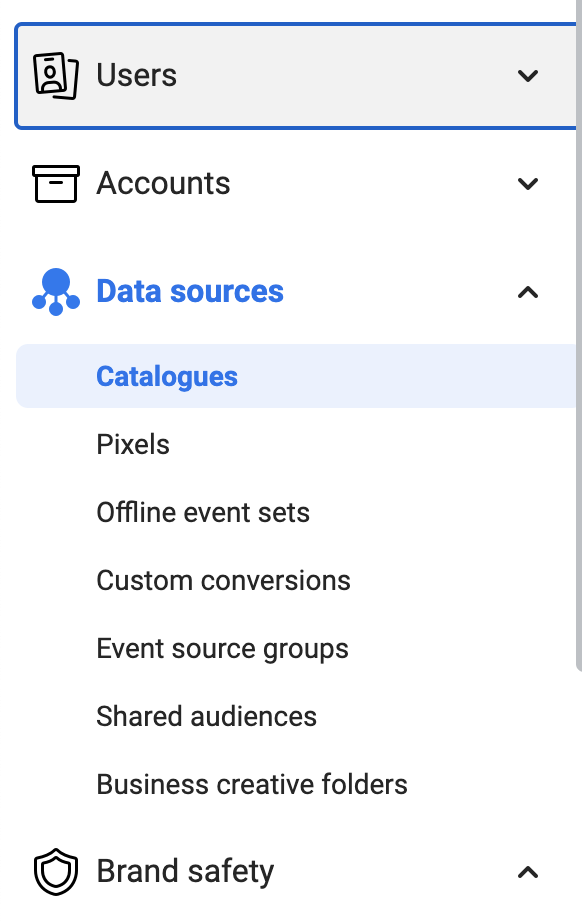
7. Now that your domain is verified, go back to Facebook Business Manager and in the left menu, look for the "Data Sources" menu option, and under that click on the "Catalogues" menu item.
8. You will see an existing product catalog that has been created on the right hand window of your screen. Click on "Remove". Once this is done, refresh the page to show that the catalog has been removed.
9. Next, click on the blue "Add" button and then select " + Create a new catalog" to add a new catalog. Give the catalog any name you want, and the type is "Products".
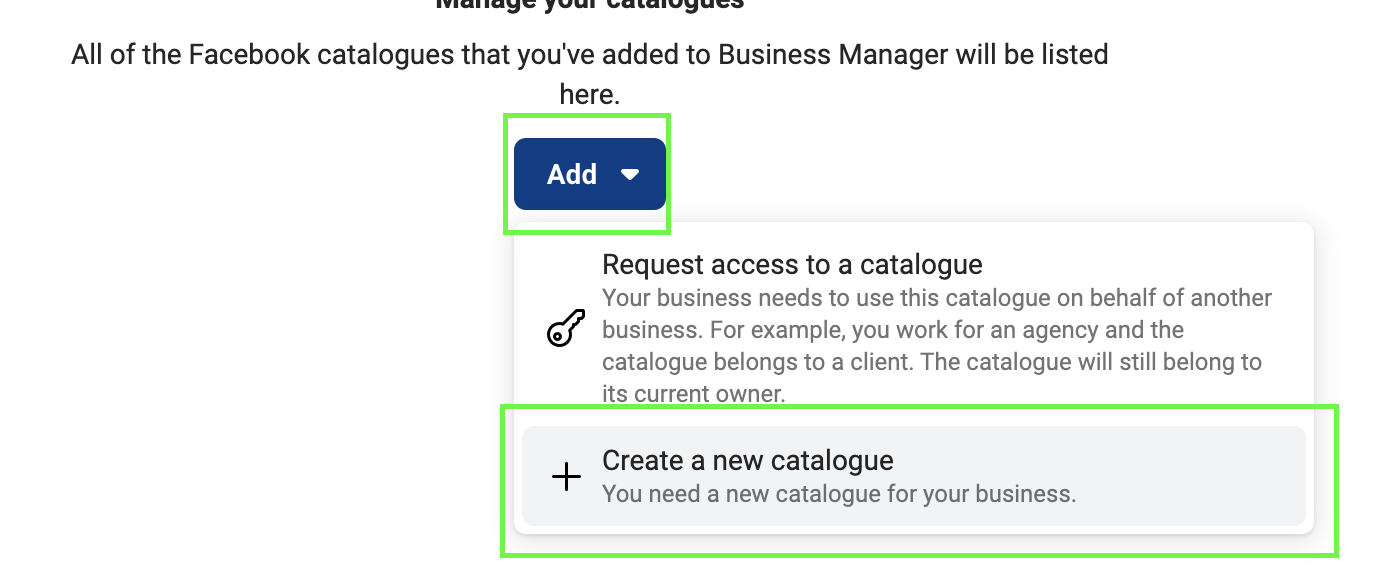
Next it will ask you which users to add to the new catalog, so select the users and access levels you wish to give those users and then click "Assign". (We recommend adding yourself at least, with full control access).
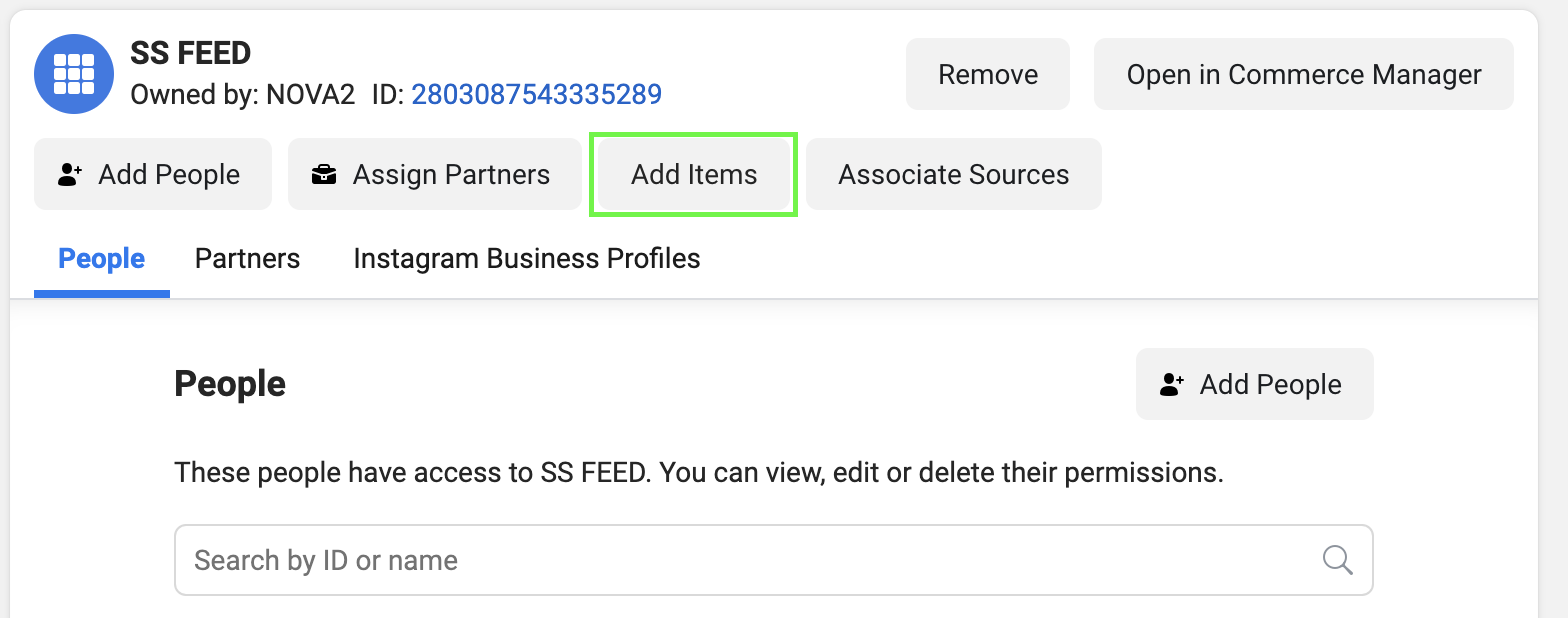
10. Next, you will see your newly created catalog displayed on the screen. Click on the "Add Items" button.
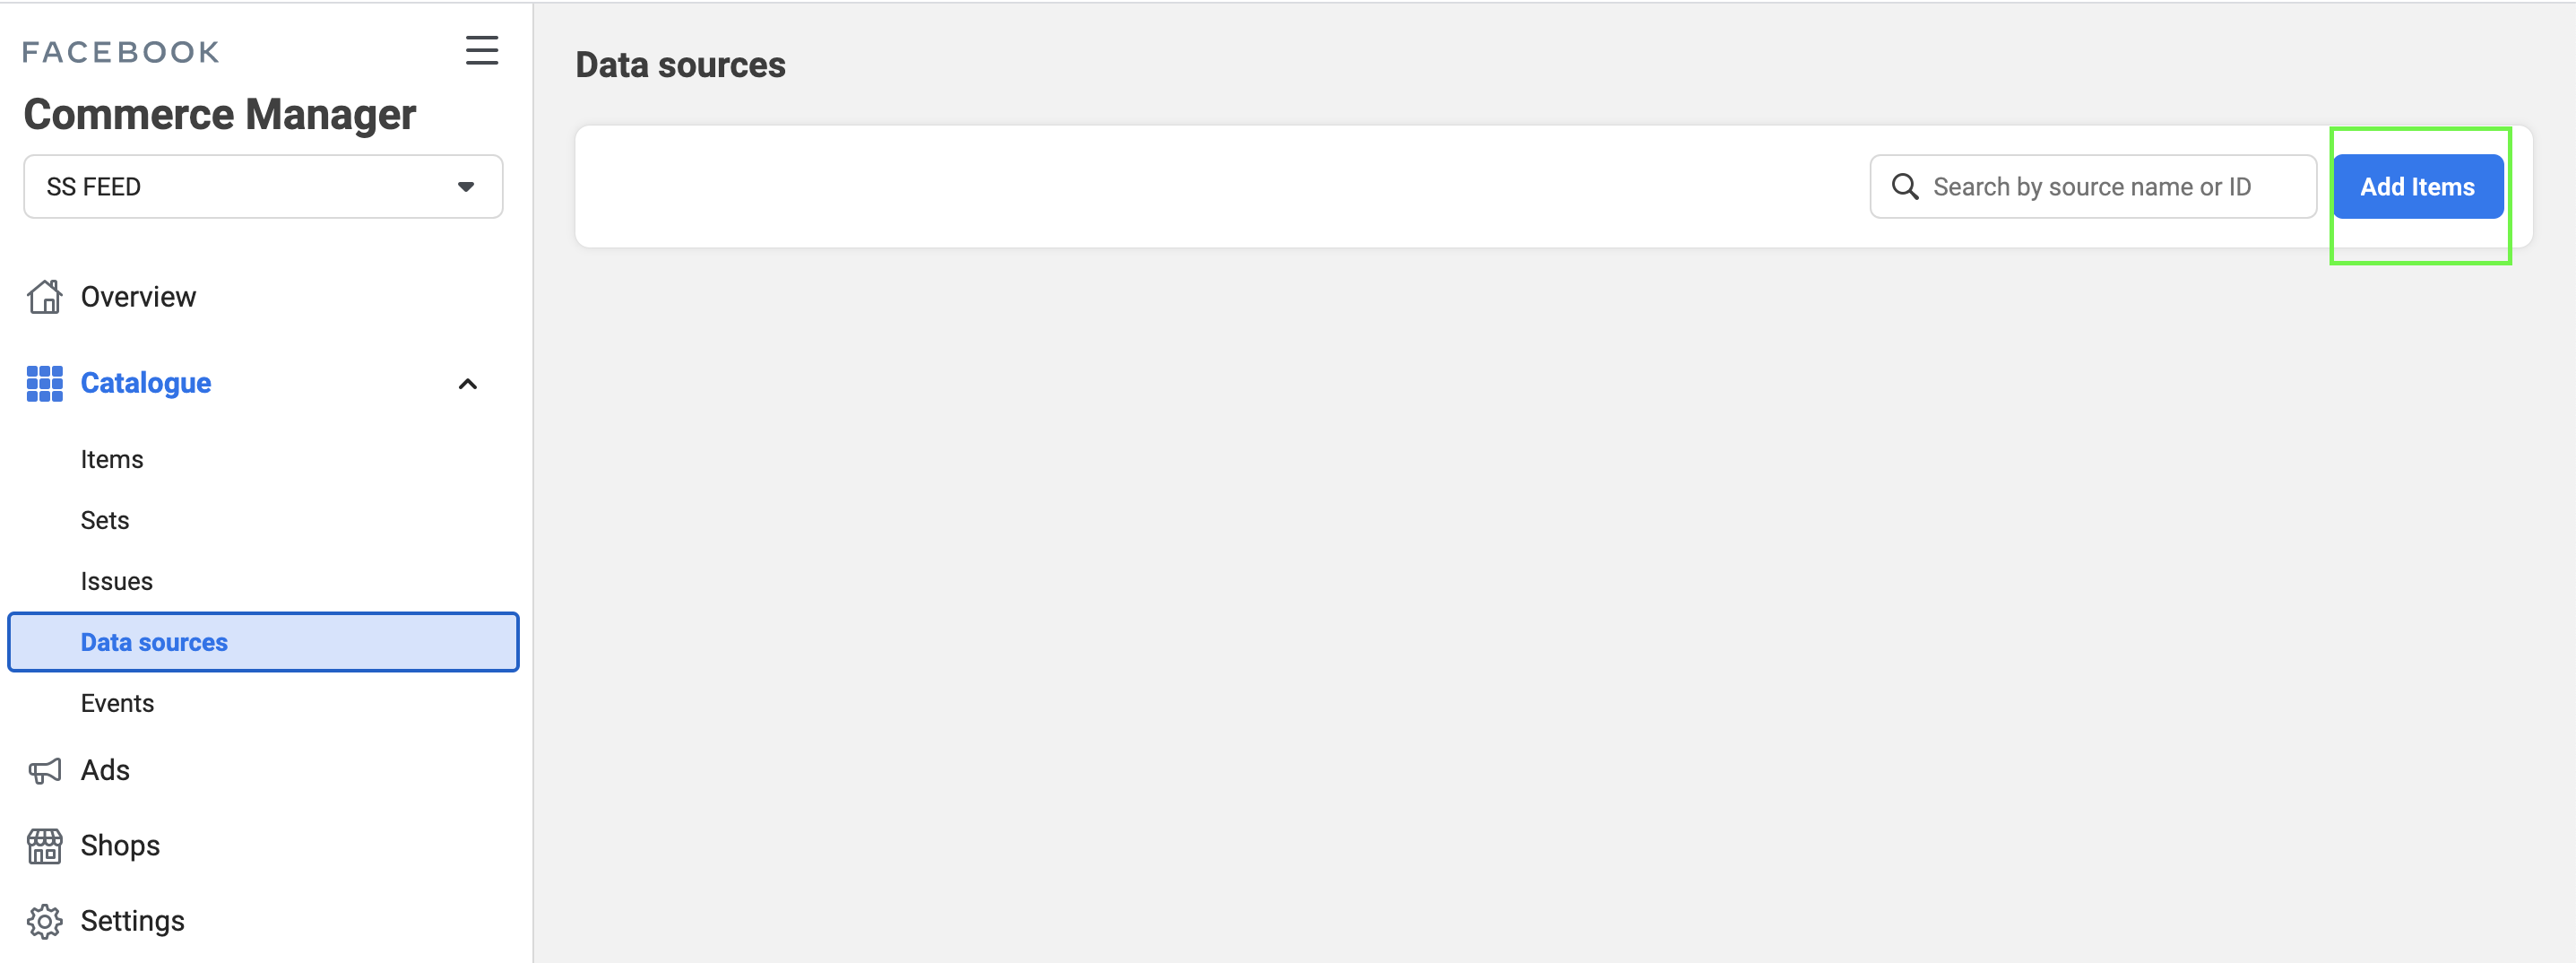
11. In the left menu, click on "Data Sources". Then click "Add Items" in the top right.
12. Select the "Data Feeds" option from the list as seen below, and click "Next".

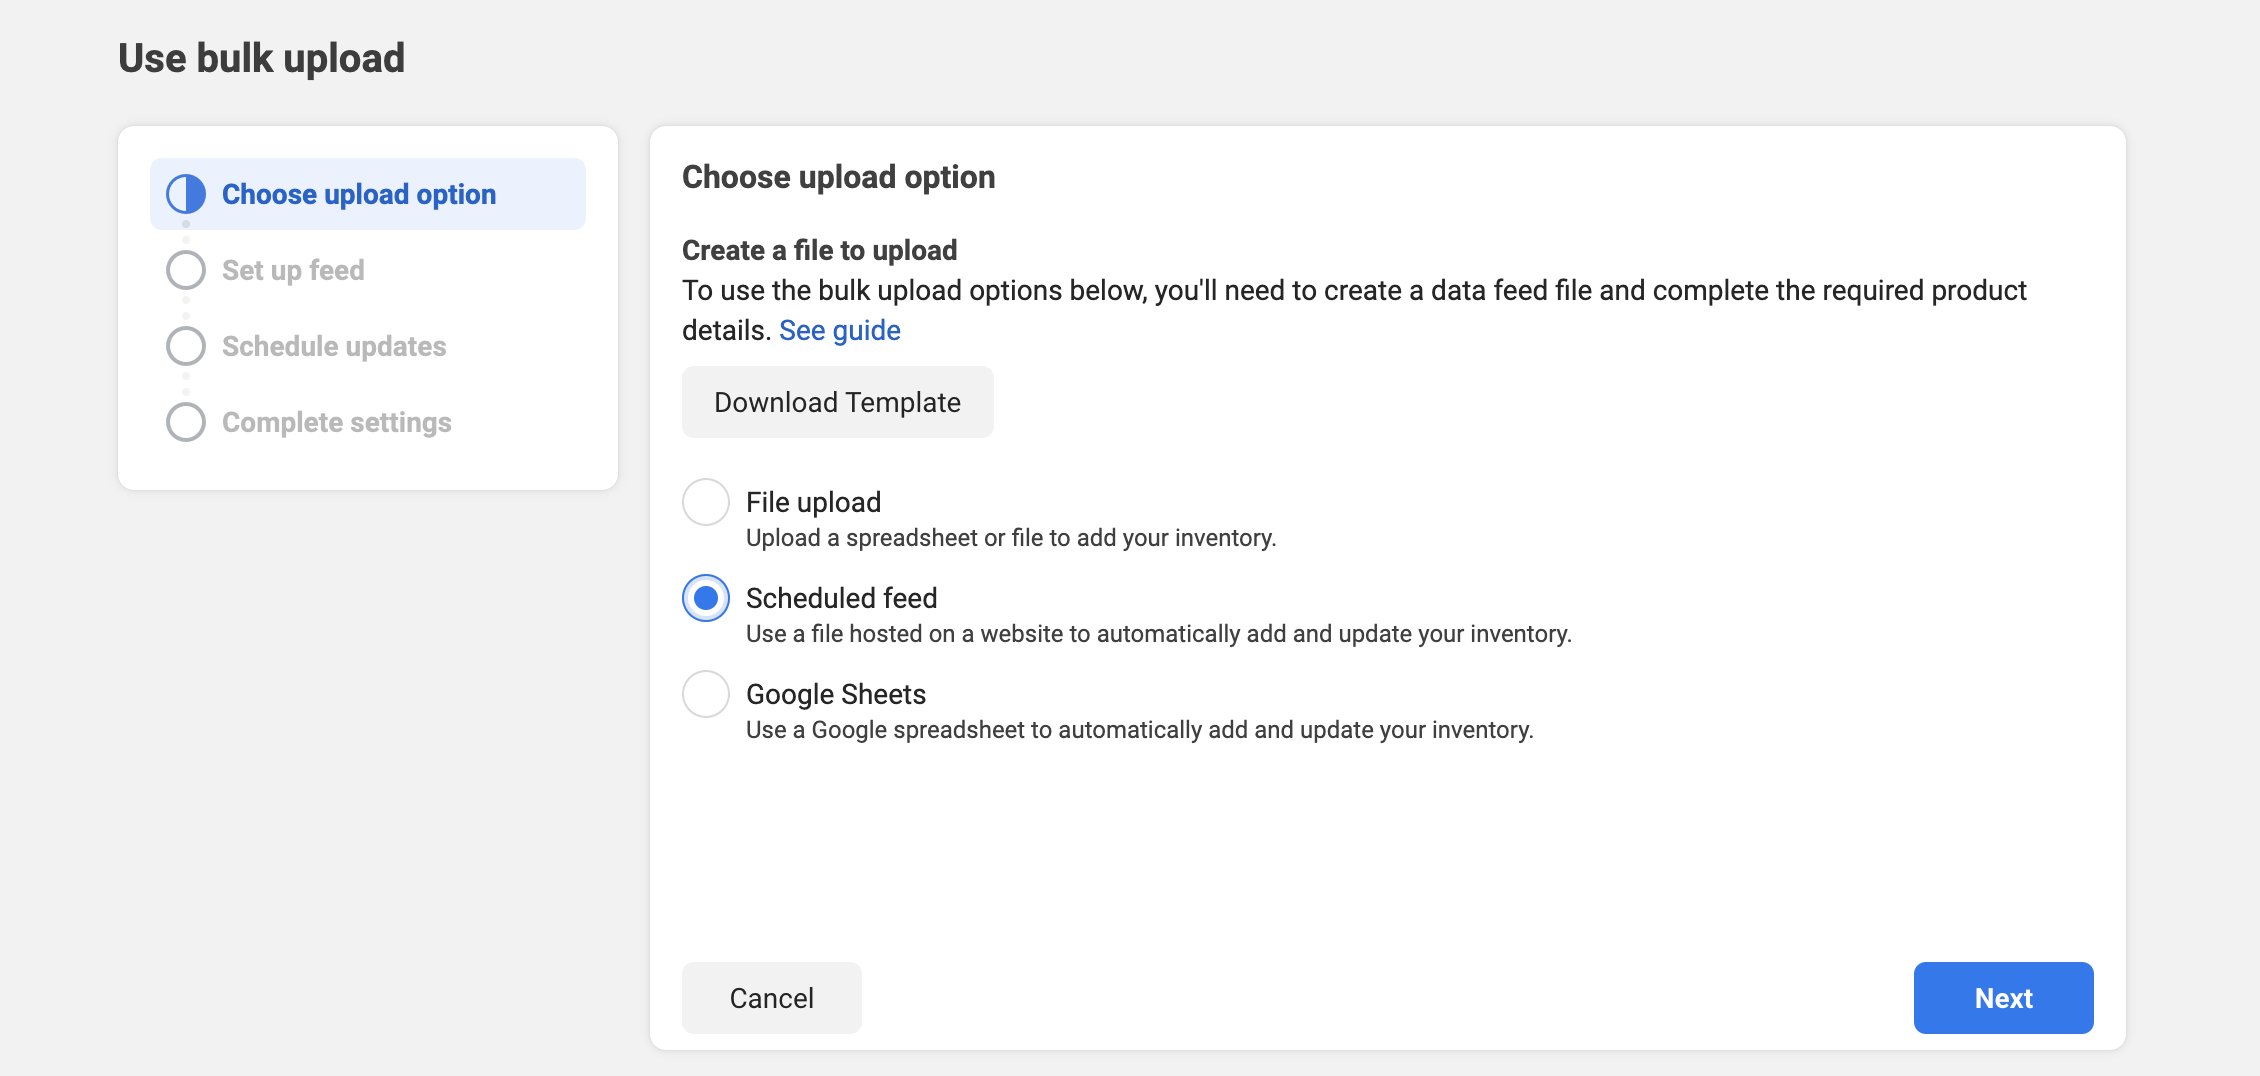
13. Select the "Scheduled feed" option from the list below, and click "Next".
14. To continue on from here, we have compiled a video which will explain the process of adding a feed. Please click here to view the rest of this guide.
If you have any questions, please get in touch with us on support@shopstar.co.za and we'll be happy to help further.
Was this article helpful?
That’s Great!
Thank you for your feedback
Sorry! We couldn't be helpful
Thank you for your feedback
Feedback sent
We appreciate your effort and will try to fix the article